Quilt As You Go Scrappy String Quilt Block
Quilt As You Go Scrappy String Quilt Block
Just one of the quilt blocks made from left over scraps from this quilt. Fabric line Lecien Flower Sugar Collection. Amour Des Vetements (for the love of clothing en Français) is my boutique!
A student without a Teacher
I have wanted to be handy in the department of sewing for a long time, but didn’t really know how to start; everything seemed like a “deep dive.” Usually this is a skill that is handed down from family members, generation to generation. This did not exist for me. The other traditional avenue of learning how to make things via sewing was always Home Economics. Home Economics and Shop (how to make things with wood, tools, electricity, etc) were staples of a rounded education in every high school until it tragically vanished some 20+ years ago. Back then, you were taught, as part of your core curriculum, how to make things for your self (clothing, food) and your home (wiring lighting, building stairs and a small porch.) Sometimes I wonder if cancelling the program was a bullshit nefarious scheme to make us all more dependent, less capable individuals.
Some skills are harder to teach to one’s self than others. And I felt that sewing, especially making quilts, was very difficult to learn without example.
Special Thanks
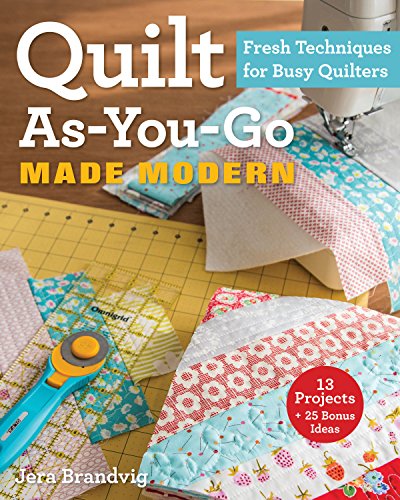
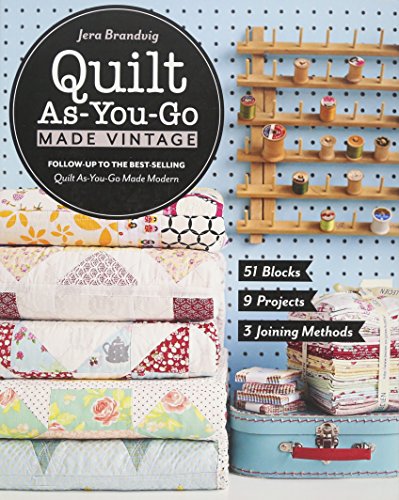
I’d like to give credit and thanks to Jera Brandvig. Though many people in the online world of quilting have helped me, it was Jera Brandvig that was the catalyst and the catapult. I own both of her books, Quilt As You Go Made Modern & Quilt As You Go Made Vintage. It was this YouTube Video that changed it all for me. Also, we have the same favorite company of fabrics—Lecien!! And Jera is such a big deal now, SHE HAS HER OWN LINE FOR LECIEN NOW! GO JERA! She is amazing. Though you should check her out on Pinterest, IG, everywhere; her home site is Quilting In The Rain.
So, from the fabric choice, to the quilting tools, to the method of sewing; she has been my biggest influence. Of course we aren’t identical. Actually, thanks to her lifting the weight of stress and perfectionism off of me, I’ve been able to begin to find my own style ❤
Let’s Start with just the Block
This Project was done Exclusively with Precuts!
This project is optimized for beginners, those short on time, and anyone looking for a good stash cleansing.
if you are brand new—fabric stashes are something that every quilter has. It is impossible to not buy fabric that you don’t need, and when you are making projects, you cut a lot, leaving you with decent sized pieces too big or nice to throw away, and these pieces pile up and become your stash
Materials:
10 inch squares of cotton fabric
you can cut your own squares out of larger fabrics
you can purchase Layer Cakes—conveniently precut 10 inch squares of fabrics that usually come in a pack of 42 squares of one designer’s collection for project cohesion.
There are many places though, like eBay or Esty, where you can purchase a large number of 10 inch squares, in bulk, of any color.
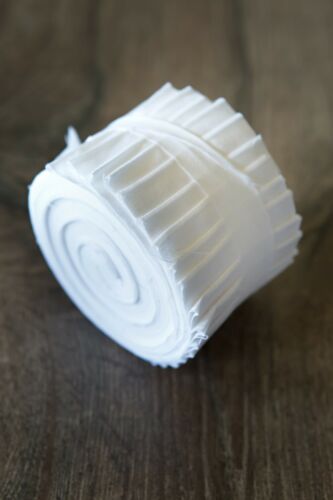
Cotton or Cotton Blend Batting
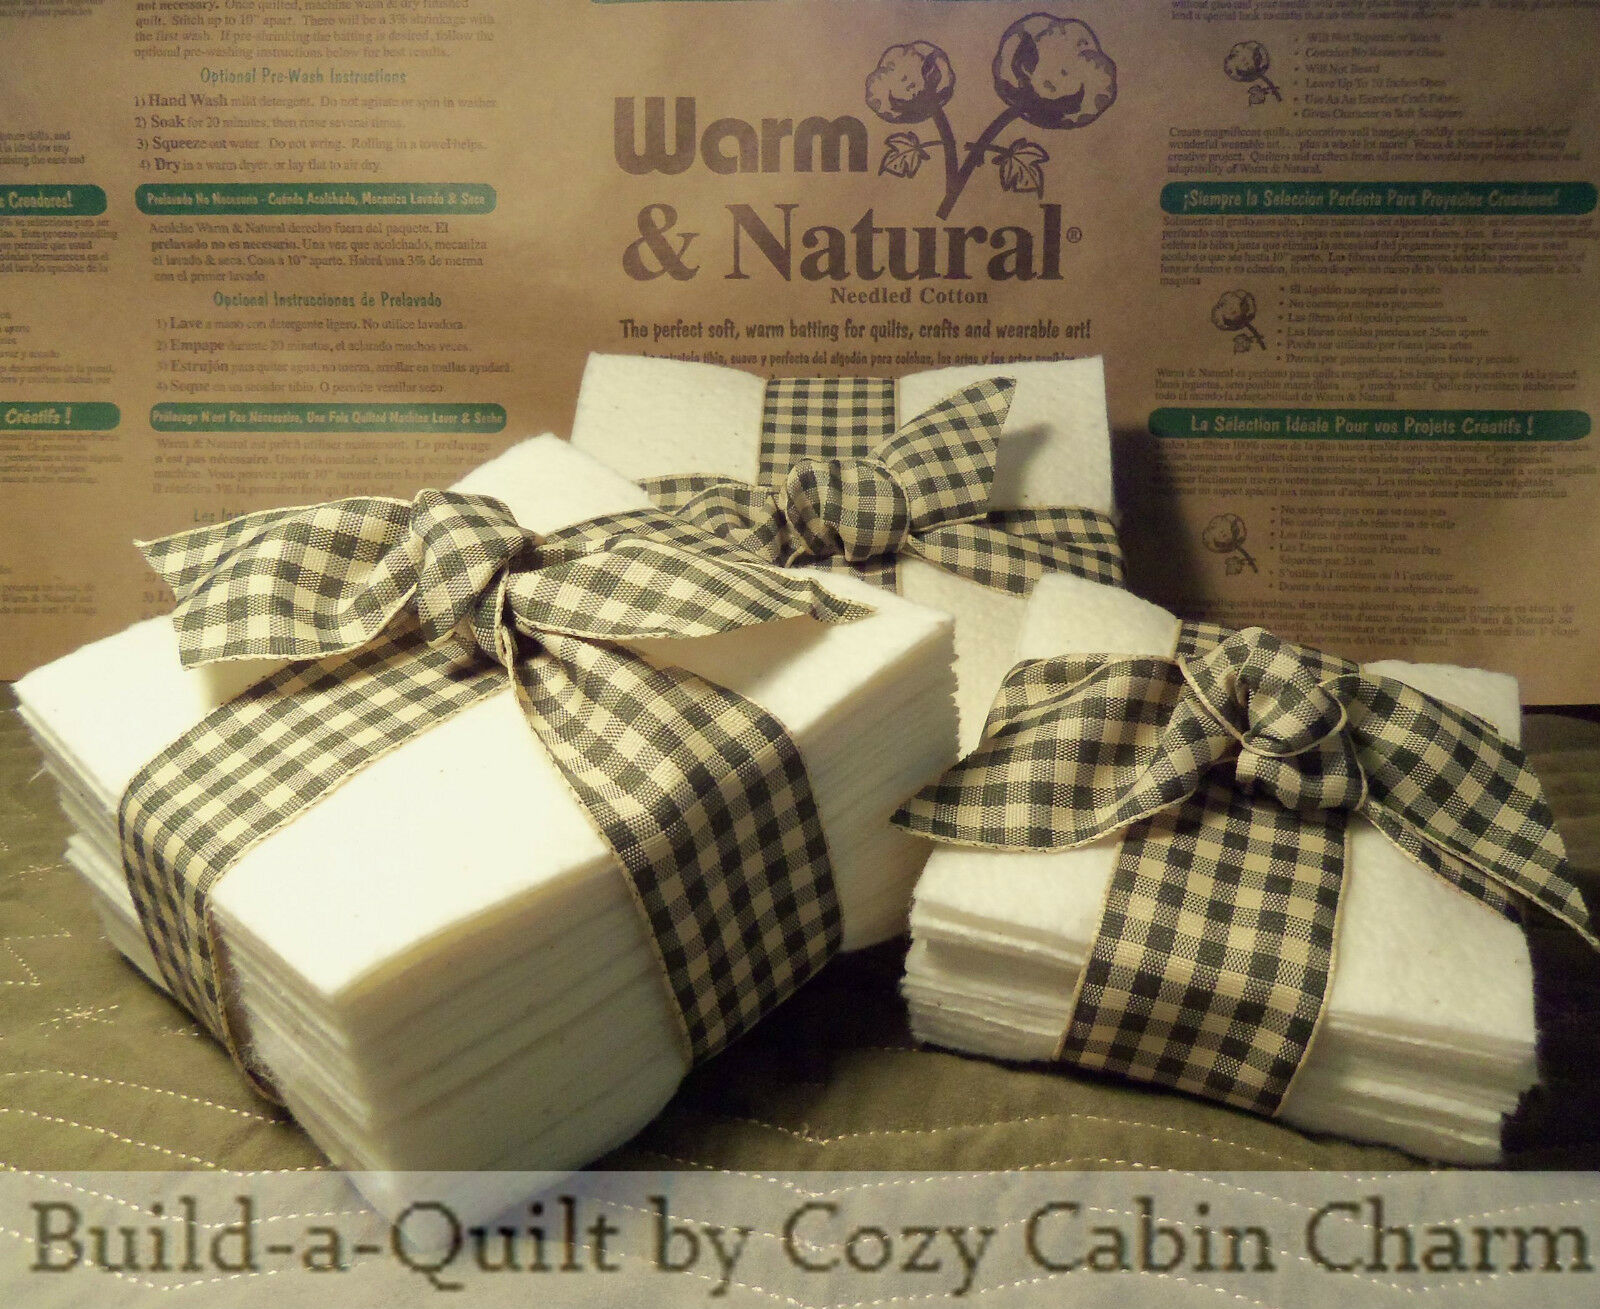
i used Warm & Natural Brand—favorite of many
Or cut your own 10 inch squares
Aerosol Adhesive Spray aka Quilt Basting Spray
I purchased Spray n Bond Basting Adhesive 7.2 oz. Can
Cotton Fabric Preferably
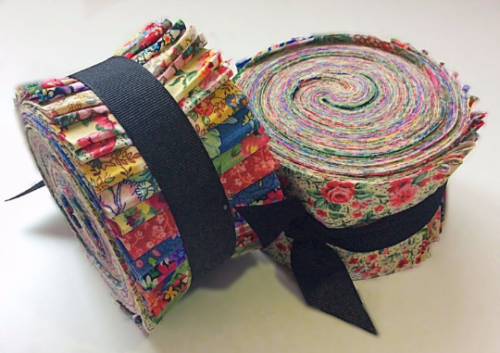
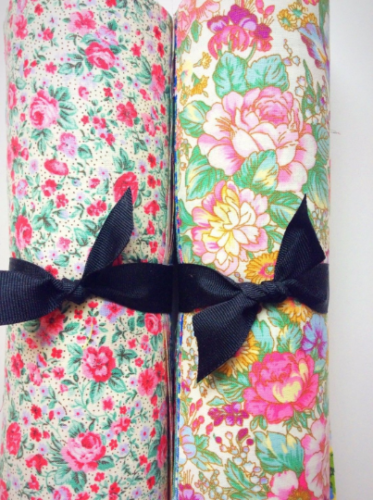
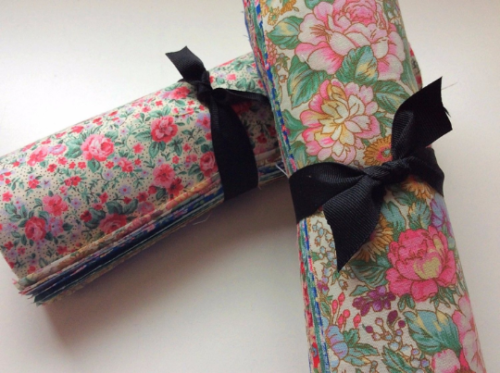
you can purchase Jelly Rolls—42 or more pieces of fabrics precut 2.5”x44”
you can cut your own 2.5” wide strips
you can cut randomized widths of fabric
you can use remnants of fabric—Excellent Stash Buster!
Quilting Tools
Quilting Ruler. Rotary Cutter. Cutting Mat. Sewing Machine. Neutral Cotton Thread. Sewing Pen or Marker. Straight Pins. Iron (if desired).
get the right materials here
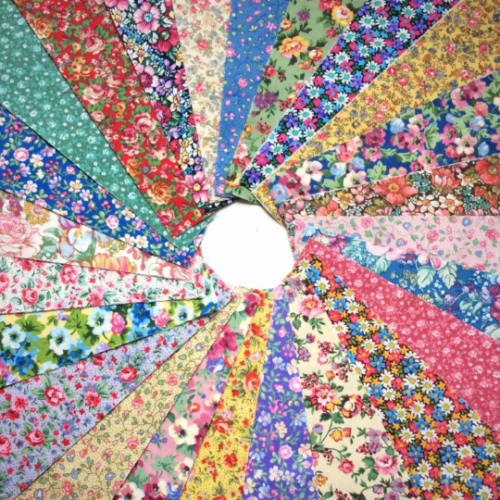
All of the fabrics for this block came from a favorite merchant of mine whom I’ve mentioned before: My Fabric Addiction. A mix of tossed florals and calicoes sold in a large quantity at a great price.


🌸Making The Block—Step by Step🌸
Step One. Prepare Backing Square
Grab One of your 10 inch Squares (Layer Cake Slice yum)
Make Sure it is nice and flat with no creases or wrinkles—iron it if you must.
Lay it Right Side Down (front/colorful side will be on the bottom, faded inside will be belly up) on a smooth surface.
Step Two. Connect Batting & Backing
Pick up a square of batting and lay it back side facing up
Spray the backside of your batting square with your basting spray
You may want to find a surface to spray on, like newspaper, towel, etc. The basting spray gets on anything it touches, collects lint and dust, and can be a pain to clean & remove depending on the surface.
Also, wipe away any basting spray off of a surface with a wet wipe (napkin, cloth, sponge, etc.) as soon as you can. The longer you wait, the harder it is to remove the spray.
Immediately and Carefully Line Up the Batting Square and Backing Square
Press and Firm them together with your hands.
If its not lined up quite enough, just pull them apart and try again!
we will be cutting the edges off later in the project, so the alignment can be slightly askew

Layer Cake (10 inch) Square Attached to Batting with Spray n Bond.
Step Three. Attach the Middle Strip To Begin
There are two ways to go about this:
You sew through the middle of strip #1/the center strip/the white strip. This affixes the strip onto the square, and you have begun quilting. You can use a decorative stitch here! But a straight line will do just as well.
You connect the center white strip (strip #1) and strip #2, sewing them together with a 1/4 inch seam allowance, so that the center white strip has no visible sewing on it.
Either way, line up the center of your middle white strip with the corners of your batting square, and make it as straight as you can.
Do this anyway you like. Some use a ruler, marker, and pins for utter precision. Others eyeball it.
Make sure that all of the strips you are going to sew onto the block hang over both ends of the block. This is vitally important!
Since you are attaching strips diagonally, your eye can be tricked into thinking that the strip is long enough. Then you flip it over after sewing it onto the block, and its not even close to long enough.
Also, your batting will bunch/shift/shrink, here and there, as you stitch into it. This is a natural, normal process. Having your strips cut long compensates for this. It helps to make sure that your strips will cover the entire block even if/when the sewing process tugs the strip upward or downward, inward or outward.
Having your strip cut too long is just a good insurance policy that your block will come out correctly.
Give yourself an inch on each side to ensure that the strip will cover the block.
Version 1—Sew Just The Middle Strip
Grab your white strip. If your strip is very wrinkled, you can prepare it with spray starch before you iron, or go straight to the iron and smooth it out. Make sure the strip is hanging over both ends of the block.
Line up the strip with the corners of the block.
You can press the strip in half long-ways, open it back up, and use the crease as a marker for extra precision
You can eyeball it, and make it as straight as you can—it all depends on how you want your quilt to come out. This is supposed to be a pressure free, fun, scrappy quilt though, so don’t burden yourself!
Place Straight Pins Through Your Strip and Batting (not deep into the back) to hold your strip in place if you need the extra support. Take the pins out as you move the block through the sewing machine, making sure the needle does not hit the straight pin.
Sew a line of Anything You Want down the middle of the strip! Any Pattern, Any Color! (decorative stitches are great here! or a simple cool tried and true zig-zag!)
Cut the extra thread and Leave The Extra Overhanging Fabric As-Is For Now!

Strip #1. First White Middle Strip. As you can see it is over lapping the square. This is a more lax setup. It is not certain that the center of the strip is lined up with the corners. The strip itself probably should have been ironed before being sewn onto the block.
Strip #1. First Strip Sewn Onto Quilt Block with Decorative Wavy Stitch. Notice the overhang of the strip. It is important to keep your strips a little extra long because your batting will bunch/shift and shrink as you sew onto it. Here you can even see little areas where the batting has already begun to shift (see top of batting square).
Version 2—Attach Strip #1 + Strip #2 Together Onto The Block
Grab Your Middle White Strip and Whichever Second Strip you choose for your block. Make sure they are nice and smooth, iron if needed.
Line up your Middle White Strip with the corners of the block, like in the first version.
Line up your second strip nice and perfectly on top of your white strip.
Right Sides Together (quilting term—front of fabrics face each other. if there is a faded under side, it should be facing up)
Pin the 2 strips in place with your pins: through the two strips, into the batting, and back out. If you can, place the pins so that they will be out of the way of your sewing needle; this way you can leave them in as you sew, and keep everything together.
Get your quilting ruler and your sewing marker.
Place your ruler on the strips so that the edge of the strips are lined up with the 1/4 inch mark of the ruler (see close up in photo below).
1/4 inch “quarter inch” is another common and important quilting term.
Press firmly on the ruler to hold it in place.
ruler stickies are a great investment to keep your rulers from sliding
With your marking tool, draw a line carefully to demarcate the 1/4 inch line. This Line is Where You Will Be Sewing.
Sew Carefully & Slowly down the line you have marked.
If you have a quarter-inch presser foot for your machine, you can use this presser foot to help you follow the seam line of 1/4 inch. i did not have one.
Though, even if you do have one; if you are a BEGINNER, i highly suggest marking the line, and following it slowly as you sew.
Take Your Pins Out (if they are in). Cut Your Extra Thread Off. Leave Your Strips’ Extra Length Right Where It Is For Now! Open and Smooth Your Two Newly Affixed Strips.
At this juncture, there are disagreements as to what to do next. I have tried all three methods, and have noticed it depends A LOT on the MATERIAL you are using. So research, and play around to find what you like.
Some say to open up your strips and iron them up and down diagonally one or two times.
Some say to open your strips and wiggle the iron back and forth lightly over the fabric with the steam on.
Some say to NEVER iron! Ever ever! and to open the fabric with your hands and smooth the strips out gently with your hands & fingers, being careful to not pull, stretch, or warp the basting and the block itself.
If you choose Version One, and sew the middle white strip directly onto the block; your next step of sewing Strip #2 onto your middle white strip will be exactly as described above: line them up. 1/4 inch line. sew.

Here, the white middle strip is lined up to be in the center of the square. The second strip (mine being a floral purple) is lined up evenly with the white strip. You may starch and iron your strips beforehand if you like. This keeps them straight, smooth, and crisp —it helps a lot with accuracy.

Line up your middle white strip with second strip. Pin them together. Using a ruler, mark a line 1/4 inch from the edge of the fabric. There are special fabric and quilting markers and pens you can use to avoid any chances of ruining your fabric—though, many regular markers, especially children’s non-staining markers, can work too. If you have a quarter-inch presser foot for your machine, excellent! i did not have one. and even if you do, if you are a BEGINNER, i highly suggest marking the line, and following it slowly as you sew.

step four. add your next strip.
Grab your next strip.
Some will be adding to the Middle White Strip (see text above, above the 2 photos).
Some will be adding their third strip to the block—which is sewn to the other side of your Middle White Strip.
To Add Your Next Strip:
make sure the fabric strip is hanging over the edge of the block on both sides.
it can help to hold the seam (or edge) of the fabric down with your fingers, or put a couple of pins in, and flip your fabric strip over to see if it is in fact long enough before you begin
lay strip on top of Middle White Strip, Right Sides Together (front sides touching)
pin in place. try to place the pins out of the path of your sewing needle
There are a ton of cool little tricks of the trade in quilting. Little tips on how to get the best lasting result. For example, and for this quilt block, rotate the direction that you sew your stitches ⬆ ⬇. (see photo)
Keep adding strips; right side of block, left side of block, right side of block, left side of block; until the block is covered.